Mastering disaster clean up starts with a well-organized approach, and a comprehensive checklist ensures nothing is overlooked in your journey to recovery.
After the initial shock subsides, taking the first look around your damaged property is overwhelming. In addition to a whirlwind of other emotions you’re probably feeling, you may feel daunted by the size of the cleanup and restoration task — it’s tough to even know where to begin.
Knowing the essential steps of cleanup and total restoration from floods to fires and more makes the difference between a smooth recovery and prolonged hardship. This comprehensive checklist will guide you through the process, outlining all crucial aspects of cleanup and restoration.
Safety first!
Safety should always be at the forefront of your mind before embarking on your cleanup and restoration journey. The aftermath of a disaster leaves behind hidden dangers like structural damage, electrical hazards, and contaminated water or debris. Here’s what to keep in mind to keep yourself safe during the disaster relief effort:
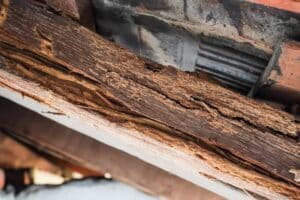
- Assess structural integrity — Make sure your home’s structural components are safe before reentering. Look for signs of structural damage like cracks in walls, sagging ceilings, or leaning walls. If you’re unsure, have a professional team inspect the building before proceeding.
- Turn off utilities — You should turn off gas, water, and electricity until it’s safe to restore them. Damaged utilities pose significant risks, including fires, electrocution, and gas leaks.
- Wear protective gear — Equip yourself with appropriate gear before starting any disaster clean-up project. Gloves, masks, boots, and goggles are necessary to keep you safe. These will protect you from potential hazards like sharp objects, harmful chemicals, or mold spores.
Document the damage
Thoroughly document as much of the damage as possible before beginning your disaster relief effort. This step is crucial for insurance purposes and will help you receive the appropriate compensation for repairs.
Take plenty of photos and videos of the damage. Capture detailed images of all affected areas inside and outside your home. Include both close-ups of the damage and wide shots of the entire room.
At the same time, take inventory of damaged items in list form. Make a detailed list of all damaged or destroyed items, including their estimated value. This will help you file a comprehensive insurance claim.
If you need to purchase emergency supplies or pay for temporary lodging, hold onto all receipts. These expenses may be reimbursable through your insurance policy.

Contact your insurance carrier
Once you’ve documented the damage, contact your insurance company. Provide a detailed account of the damage, including photos or videos, and be as thorough as possible. The more careful you are, the fewer delays you’ll face. Review your policy to understand what is covered, as knowing this will help you navigate the claims process.
Your insurance company will likely send an adjuster to assess the damage in person. Be present during the inspection to ensure nothing is overlooked and to help answer any questions they may have. This will help your claim be processed as smoothly as possible.
Mitigate further damage
Take temporary measures to secure your property and prevent further damage while waiting for repairs to begin. Start by boarding up any broken windows and doors. This simple step will help minimize the risk of additional damage due to weather or theft.
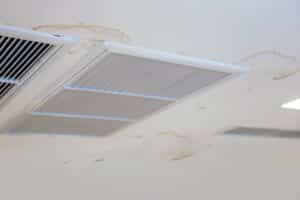
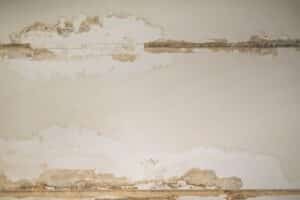
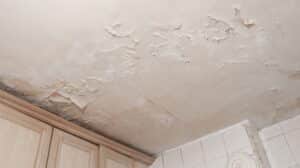
If your roof has been compromised, cover the damaged areas with a tarp to prevent water from seeping into your home. Additionally, if there’s flooding, promptly remove any standing water and debris. Acting quickly will help prevent mold growth and structural damage.
These precautionary steps will significantly reduce the overall impact of the disaster on your property.
Clothing and gear
Cleanup and total restoration often involve facing various hazards, such as contaminated water, sharp debris, and unstable structures. To protect yourself during cleanup, it’s essential to wear proper clothing. At a minimum, everyone should wear long pants, a long-sleeved shirt, and sturdy shoes or boots. Work gloves are also a must to protect your hands from sharp objects and rough materials.
Beyond the basics, you may want to invest in additional protective gear. Items like eye protection, disposable masks, and hard hats provide extra safety in hazardous environments. It’s also important to recognize that different disasters may present unique risks requiring specific precautions.
Basic cleaning supplies
The type of damage your home has sustained will dictate the exact cleaning supplies you’ll need, but a few essentials are always necessary. Start with basics like detergent and bleach for effective cleaning and disinfecting. A shop vac or canister vacuum will help remove water and debris, while sponges, buckets, and rubber gloves are necessary for scrubbing and handling chemicals safely.
For larger debris, such as mud or broken glass, you’ll need sturdy tools like mops, brooms, shovels, and rakes. A carpet knife will also come in handy if you need to remove carpeting. Finally, heavy-duty trash bags are needed to dispose of debris to clear your home for cleanup and total restoration.
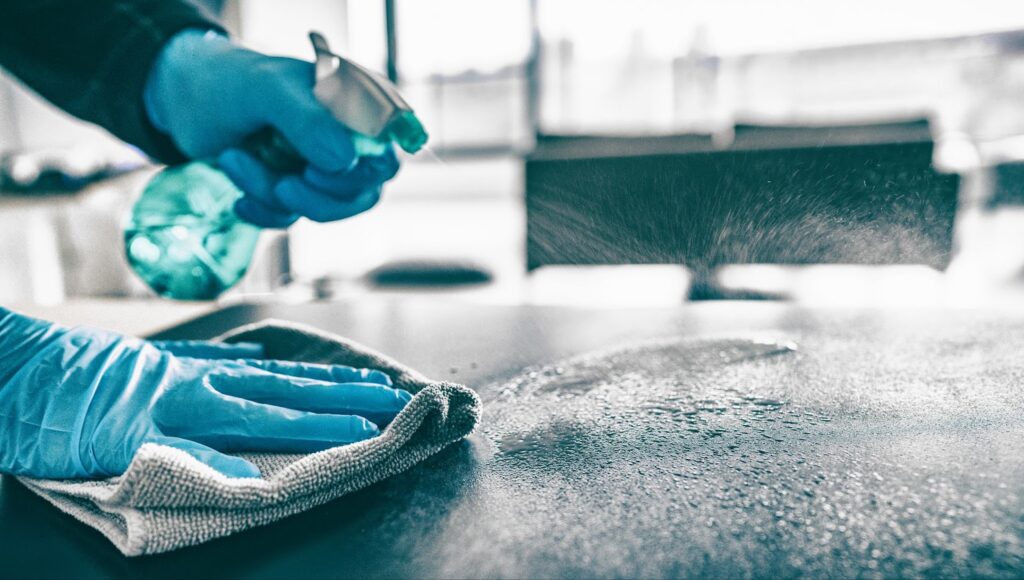
Cleaning up
Now that your property is secure and you have the proper supplies, it’s time to begin the cleanup process and disaster relief effort, which may feel overwhelming at first. Start by removing all impaired furniture, appliances, and personal belongings. Salvageable items should be cleaned and dried immediately, while those beyond repair need to be tossed right away.
Next, focus on drying out the affected areas as quickly as possible. Use fans, dehumidifiers, and open windows to dry the area and prevent mold growth. Mold growth can start within 24-48 hours, so don’t delay.
Finally, thoroughly clean and disinfect all surfaces, especially if floodwater is involved, as it can harbor harmful bacteria. Using the right cleaning solutions and methods will certify that your space is safe and sanitary.
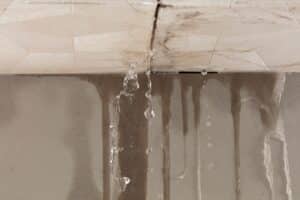
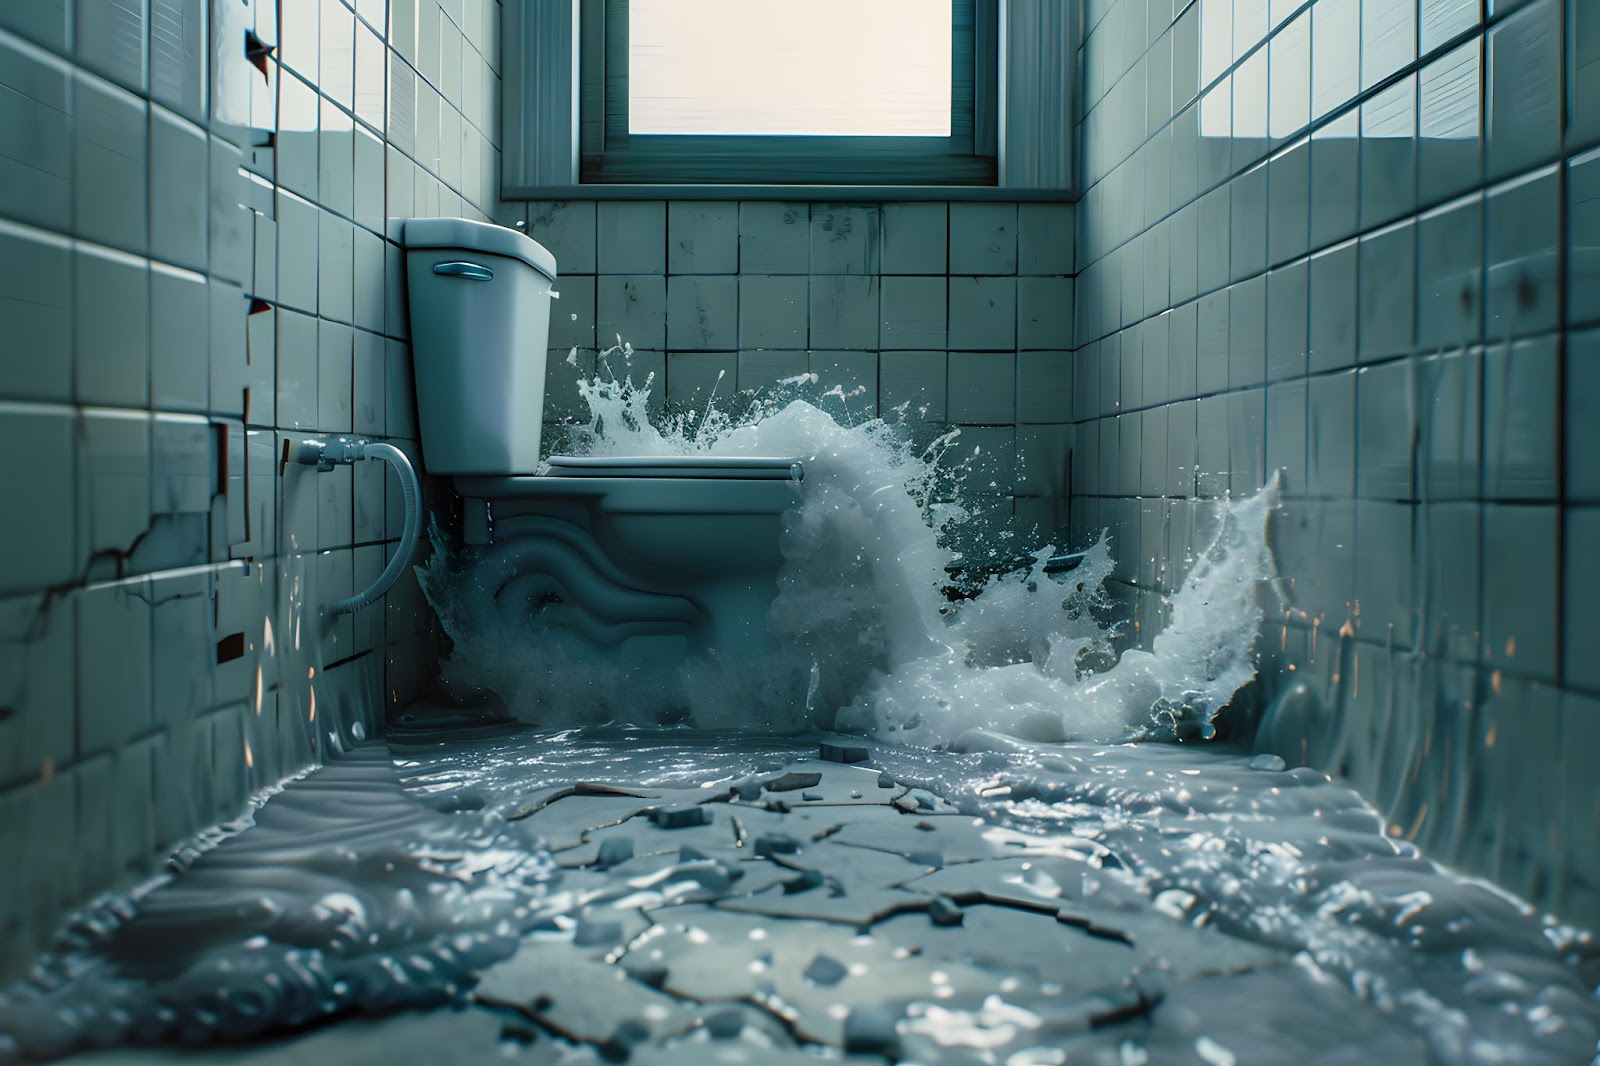
Water damage cleanup
When tackling water damage, quick action is your number one priority. Promptness is essential to minimize the impact and prevent further complications like mold growth. Start by removing any standing water using a pump or wet vacuum. After the bulk of the water is cleared, set up fans and dehumidifiers to thoroughly dry out the area.
Once everything is dry, it’s time to clean and disinfect. Use appropriate cleaning solutions to tackle any bacteria immediately. Dispose of any items that can’t be cleaned exhaustively, like soaked insulation, drywall, or carpeting. Watch for any remaining moisture or signs of damage and address these issues quickly to avoid long-term problems.
Black Diamond Restoration: Ready to take the next step?
Navigating disaster clean up is challenging, but with Black Diamond Restoration by your side, you will manage the cleanup and restoration process effectively. Our expert team is dedicated to providing comprehensive services to support you through every stage of the cleanup and restoration process.
From water damage and fire restoration to mold remediation and structural repairs, we offer fast, efficient, and reliable solutions to restore your life as fast as possible.If you find yourself overwhelmed or need professional assistance, don’t hesitate to reach out. Our team is here to provide expert advice, fast and efficient service, and support throughout your disaster relief effort. Contact Black Diamond Restoration today to get the help you need for a smooth transition from disaster to recovery.
toto slot toto slot toto togel